Tile flooring in the bathroom is super convenient. It makes keeping up with messes much easier than if you had carpet or wood in this often humid and moist area of the home. But what about the tile grout? The grout that holds the tiles together is one of the most challenging parts of keeping clean tile floors.
In the bathroom, the grout quickly becomes stained. The worst part is the likelihood of mold and mildew build-up because of the wet environment in your bathroom. But don’t worry—The experts at Professional Carpet Systems are here to help! This blog discusses the top tips for cleaning dirty tile grout using DIY methods. And if that doesn’t do the trick, never hesitate to reach out to your local professionals for a thorough and effective cleaning!
Maintaining the Tile Grout in Your Bathroom
With tile flooring, the possibilities are endless. Bring a spark of bright color to a space by choosing a tile with beautiful hues. Or, pick out tile flooring with an expressive pattern that tells visitors something about your unique family. Even better, tile is one of the easiest flooring options to clean, especially when big spills and messes are involved.
There’s just one major drawback of tile, and it’s the tile grout. Any homeowner with tile floors will agree that grout is one of the most challenging parts to keep up with. Over time, the porous grout holding the tiles in place becomes saturated with dirt, moisture, and other filth, causing its appearance to decline significantly.
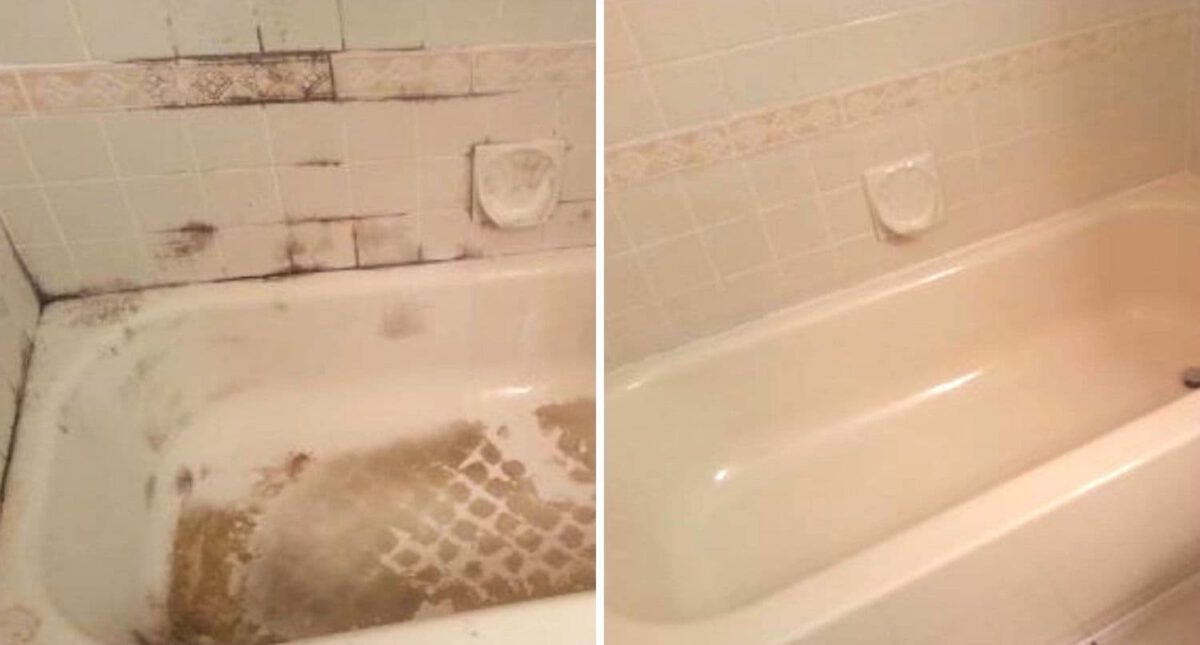
That is unless you know how to maintain the tile grout properly. In your bathroom, your tile flooring takes on a lot of moisture, dirt, and debris. This could potentially lead to mold and mildew growth. Whether you know it or not, there is a high chance that your bathroom tile grout is ridden with nasty mold or mildew if you have not been consistently cleaning it out. The key is establishing a routine of caring for your bathroom tile grout.

How to Clean the Bathroom Tile Grout
If you have neglected the tile grout in your shower or bathroom floor, you may have a bigger issue on your hands. In this case, you can try a few things to make it look good as new! If your DIY efforts fail, remember there are professional teams out there who will guarantee sparkling-clean tile grout!
Use the following tips and tricks to discover how to clean your bathroom tile grout.
1 | Choose the Right Cleaning Solution for Tile Grout
When tackling discoloration, stains, and mold in your trapped in the tile grout, choosing the right cleaning solution is one of the most critical steps of the process. You often don’t need harsh chemicals to get the job done.
In fact, it can be dangerous to use cleaners with potent fumes in a small bathroom space, where ventilation is limited. If a strong chemical cleaner is necessary, remember to open the doors and windows to ensure your safety. Otherwise, try treating the tile grout with alternatives first.
Remember that products like Borax and Comet may ruin the tile grout. Save these effective cleaners for other areas of your home, and start by mixing your own paste to clean the grout.
Slight Discoloration
If your bathroom grout is only slightly discolored, cleaning it should be pretty simple! All you need to do is mix a DIY paste to scrub into the pores.
So, grab a mixing bowl and add one part water or vinegar to two parts baking soda or a product like OxiClean. This simple combination should do the trick for lightly stained tile grout. The best part is that it is perfect for cleaning the tiles on your bathtub or shower walls. Because it is a paste with a more solid consistency, it will stick to the grout on the vertical surface a lot better than a fluid cleaner would.
Mold and Mildew
If you notice mold and mildew growing in your tile grout, you will want to use a slightly more potent cleaning mixture. Still, it can be made from things you have sitting around at home. So, swap the water or vinegar in the above mix for hydrogen peroxide. This is a great way to avoid using store-bought cleaners and get the same results. Hydrogen peroxide is one of the most commonly found ingredients in manufactured mold and mildew treatments.
2 | Use a Toothbrush to Clean Tile Grout
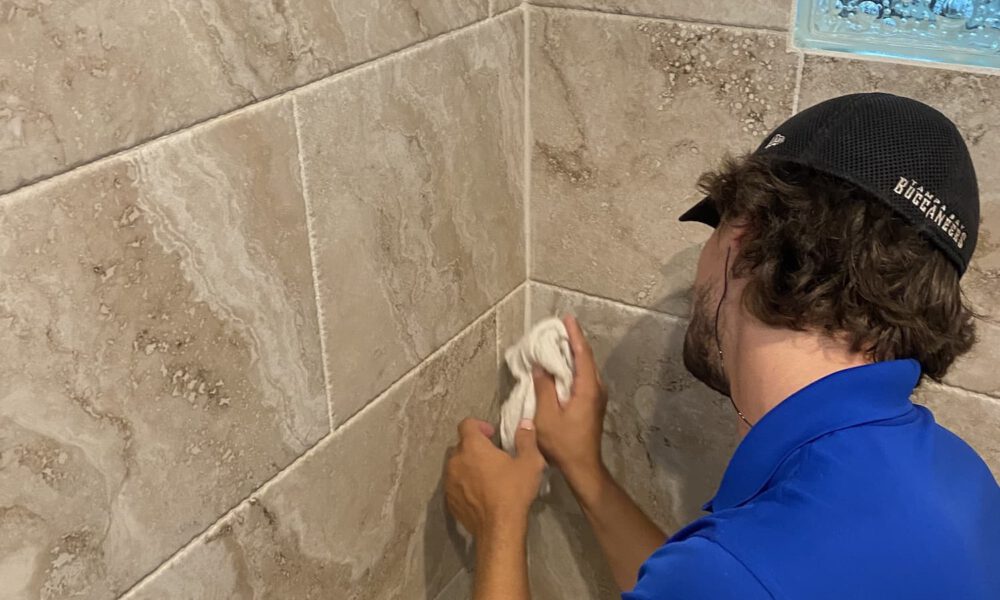
Now, get to scrubbing! After applying the mixture to your bathroom walls and floors, it’ll take a little hard work to clear the tile grout of the nasty stains and debris. One of the best tools to tackle this job is an ordinary toothbrush! Grab an old toothbrush from the medicine cabinet or purchase a cheap one from the store. Then, scrub away the dirt and grime.
Avoid using wire brushes, steel wool, or other highly-abrasive cleaning tools on your tile grout. While a cleaning brush with stiff bristles may work just fine, the tougher tools can damage the grout. In turn, it may collect even more dirt and debris or ruin the structure of the bathroom tiles.
3 | Let it Sit and Scrub Some More!
Depending on the severity of the stains or mold growth on the tile grout, you may want to let it sit before rinsing it from the surface. In fact, it is best to scrub, let it sit, then scrub one more time before clearing the paste from the grout. This especially helps to take care of future mildew and mold infestations.
4 | Rinse the Grout
Finally, rinse the paste from the grout and let the surface air dry before using the bathroom or shower. For the shower walls, it may be easiest to rinse them with running water. But for the floors, use a wet cloth to thoroughly clean the paste and collected grime. Clean the cloth and wipe the grout one more time to ensure no residue is left behind.
Lastly, let the tile grout dry, and admire your hard work! Your bathroom walls and floors should look like new!

Need Professional Cleaning?
Sometimes, no matter how hard you try, your grout is beyond the point of DIY care. In this case, it’s time to call your local professional tile cleaning experts to finally get your tile grout back to how it looked when it was first installed.
At Professional Carpet Systems, we don’t only guarantee sparkling-clean grout. We will also seal the grout with a protective and eco-friendly coating to prevent future build-up, stains, and mildew growth. That way, maintaining your tile will be much easier and look better for longer!
So, what should you expect from the experts at Professional Carpet Systems? Below is a general walk-through of how our cleaning process goes:
- First, we will inspect the condition of the tile grout and determine the most effective plan to restore it to its former quality.
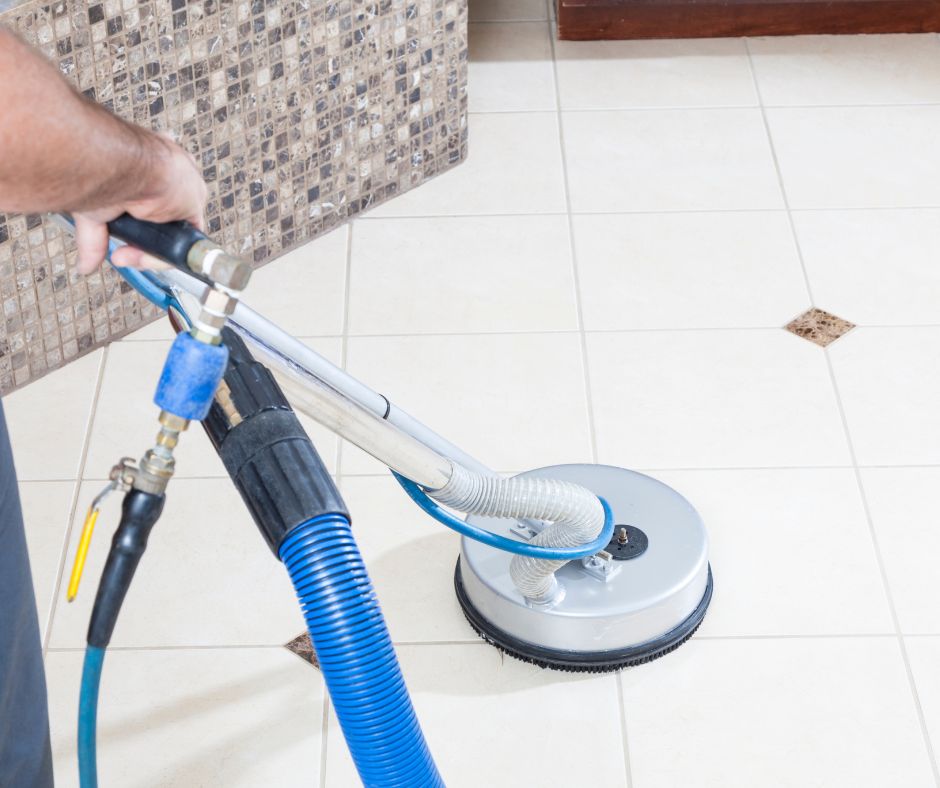
- Next, we discuss the process with you and double-check that our service fits your personal budget. From there, we get started with our pressurized hot water treatment that removes all kinds of pollutants and grime trapped in the tile grout.
- Then, we steam-treat the grout to capture any remaining dirt and debris.
- After the extraction and steaming, we apply our long-lasting protective coating to prevent future stains and build-up.
- But we don’t stop there. Our friendly team will return for a post-inspection to ensure you are satisfied with our cleaning services.
Why go through the trouble of cleaning the filth from your tile floors when professionals can do it for you for an affordable price? Call Professional Carpet Systems today to get your tile grout looking clean and pristine!